First of all, happy New Year!
My first post of 2012 will be about photography. More specifically, about photography workflow. I often get asked about what’s the whole process I do, from the shot to the final image, so I decided to go for quick writeup about this.
Photography workflow: shooting
First, I shoot RAW. I do it because it’s easier to process the images later, as the file has more information and allows proper exposure correction via software. This is particularly useful if I don’t have a graduated ND filter with me. The downside is that the files take a lot more space than JPGs, but since storage is cheap these days, I don’t care. I use Lexar Professional and Hoodman RAW ultra-fast cards because they’re the most reliable I could find throughout the years.
When on the road, I always carry a laptop. Nowadays, I’m using an 11” MacBook Air for portability — and it’s decent enough for some editing on the move. Alongside the laptop, goes a small Western Digital Passport USB HDD, which is where I download all my cards to. This way I have two copies of each file and don’t have to worry much about losing my shots. If I happen to have a fast connection and left my office infrastructure up, I can use Back To My Mac to upload my RAW files directly to my iMac there.
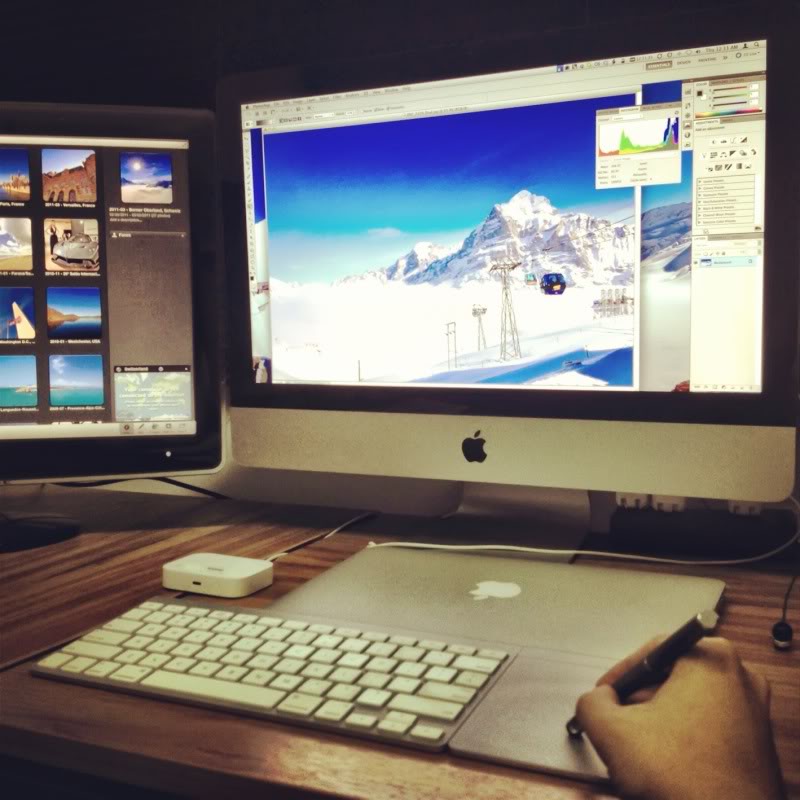
Photography workflow: RAW processing and editing
After the shoot, I download everything to my storage. I keep each trip in one folder for better organization. This way, I can easily navigate through my images using Nikon View NX 2, which is the software I currently use to edit RAW files. RAW processing for me is about getting the exposure right. The rest will be done in Photoshop. I also tag and geotag the images in this part of the workflow, since it’s easier later for me to search images by tags. And since Mac OS X apps are well-behaved and don’t screw up metadata, these tags are preserved up to the final JPG and I don’t have to re-tag everything on Flickr later.
After processing the RAW, I save the image as a 16-bit TIFF file, which is ready for the final edit using Photoshop. In Photoshop, I don’t have a particular workflow. I just let my imagination fly and do whatever I want to the image until it looks like I planned at the moment of the shot.
Photography workflow: archiving
The final edit is always saved as a JPG file, unless I have a really good reason for not doing that — i.e. customer request. This file is archived in iPhoto, which is the software I use to organize my final edits. iPhoto makes everything easier because it allows me to promptly share the images to Flickr and sync them to my iPhone and iPad.
Oh, and one more thing… Backup, backup, backup! I have 3 copies of everything: one in the storage, one in the backup storage and another in the cloud. That’s the minimum you should have to avoid trouble.
That’s it about my photography workflow. I hope you enjoyed!