
For many years I have been a Photoshop user. It was an important part of my workflow and perhaps all of my work so far went through it. However, in the latest years, Photoshop became more and more bloated, and I feel users like me were paying for features they didn’t need. So I started looking for alternatives.
By reading the Outdoor Photographer magazine, I realized many professional landscape photographers were using software from Nik Software for their editing, so I decided to give them a try. The first roadblock: those required either Apple Aperture or Adobe Lightroom to work. Since I was tired of Adobe and many people I know use and love Aperture, I went for that. It costs $79.99 in the Mac App Store (mark down that price) and download and installation are painless. After that, I downloaded the trial versions of all products from Nik Software for a test.
I instantly loved those. Basically, they do everything I used to do in Photoshop, but in a easier and more controllable way. For basic light and color edits, Viveza 2 and Color Efex Pro 4 are just excellent; for HDR imaging, there is the excellent HDR Efex Pro; for sharpening and noise reduction, Sharpener Pro 3.0 and Dfine 2.0 are the best; and for B&W conversion, Silver Efex Pro 2 is the one to beat. So I bought the complete pack for $299.95.
Of course, getting rid of Photoshop meant a change in my workflow. First, since I’m using Aperture for everything, I also dumped Nikon ViewNX 2. Although quite excellent, it’s duplicate software in my stack I needed to get rid of. So, my first change was to import the entire RAW/film scan archive into Aperture. Like iPhoto and iTunes, it organizes the files for me in its own library, so I don’t need to bother with where each thing is in the file system, which is nice.
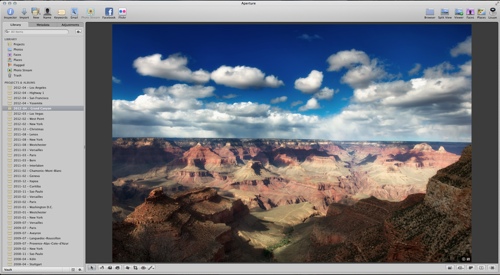
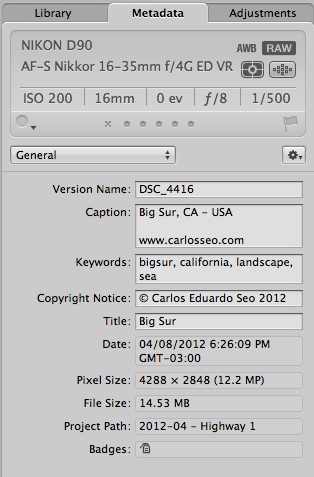
Aperture’s interface will be very familiar for anyone who has ever used Apple products such as iPhoto. It’s very intuitive and easy to learn. One nice thing is that Aperture got all the metadata from the image correctly, including camera settings (lens, geotags and all).
From there, I’ll use the Nik Software plugins to edit the image. They run on top of Aperture and when the work is finished, it saves back to the library a 16-bit TIFF copy, so your RAW is kept intact. I usually start with Viveza to correct light and shadows, then move to Color Efex Pro to adjust colors and finish with Sharpener Pro and Dfine for selective sharpening and noise reduction. The generated image is then exported as a non-compressed JPEG to iPhoto.
So, as you can see, I keep separate archives for RAW/edits and finished photos. I do this for two reasons: first, it’s easier to manage things, especially when you have 17 years of archives; second, iPhoto sync nicely with iPhoto on the iPad, so it’s easier to show my stuff around on the road.
Oh, and the price tag… Photoshop costs a whooping $699. This cost me a bit more than half as that ($379). Please save that money and invest it on new glass for your camera. And if you need layers, then add Pixelmator in your stack for $29.99.
One last thing: this software stack is for Mac only. If you use Windows, you’ll have to run it on top of Adobe Lightroom, which costs $149. Although it is way more expensive than Aperture, it still is cheaper than Photoshop.